Duotone Cyanotype
I recently purchased Annette Golaz’s book, “Cyanotype Toning: Using Botanicals to Tone Blueprints Naturally” (Amazon link). It has been a bit mind blowing realizing how many toning options there are for cyanotypes!! She also has a chapter in her book on making Tri Color Cyanotypes. As she describes in her book, this is essentially “printing and toning three different layers of cyanotype on top of each other”.
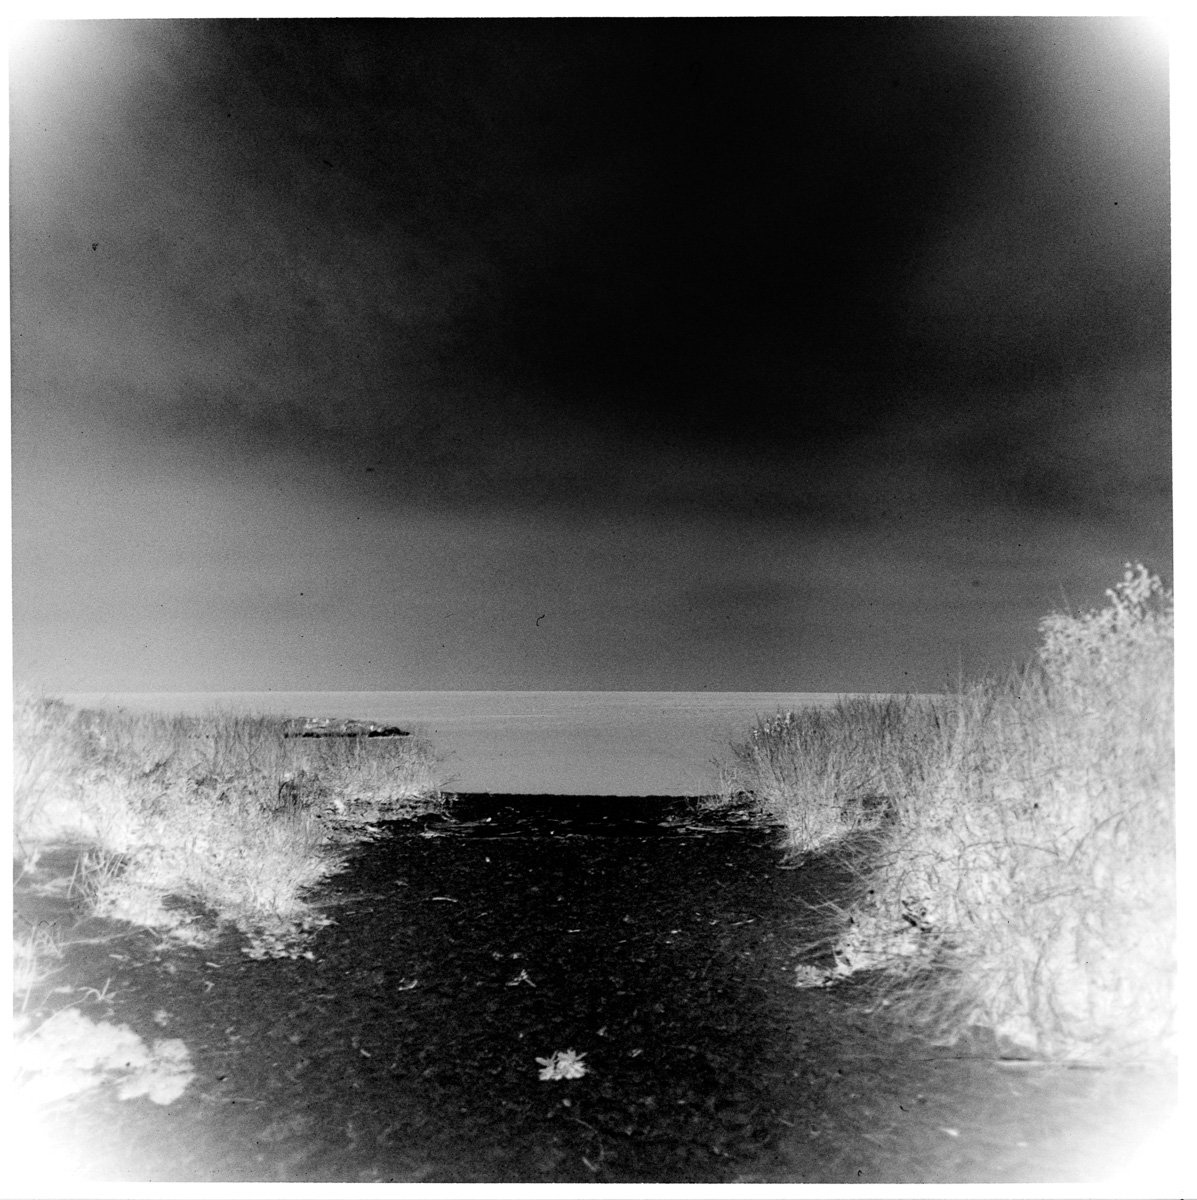
The first image in that chapter is a beach scene, with the “yellow” of the sand and the blue of the sky as the main colors in the photo. I decided to start this multi color process with a similar image because it seemed easier to start with two rather than three colors. Also, on page 116 of her book, she describes the process of just using two of the tricolor negatives to print yellow and blue…..and I didn’t have anything to use as a toner to make red anyway.
As a photographer who prefers to shoot in black and white, the realization that I’d have to shoot color in order to do tri color cyanotypes was a bit of a shock. But now I’m a bit intrigued to see what I can do with the process…..and actually shot some color film yesterday with the tricolor process in mind.

Original image: shot with my Holga on Lomography 800 film, and processed by me with the Cinestill C-41 kit.
As you can see, the image above is mostly blue and yellow. The first step is to increase the saturation of the original image.

Original image with saturation curve applied per Annette’s book, page 114.
Next up was making the Tricolor negatives, also page 114. First comes inverting the color image.

Then making the tricolor negatives for each color channel.
Page 116 of her book describes the making of the tricolor print. Since I was only using two colors, I skipped the first part where the Magenta negative is used.

Photo following exposing the Yellow negative. My “normal” exposure is around 15 minutes on paper, so this was exposed for 45 minutes (Annette recommends exposing with the yellow negative for 3 times your normal exposure)

After acid development, I used half a teaspoon of citric acid in one liter of water for the developer. This was also after a dip in a hydrogen peroxide bath. I didn’t take a photo after the initial development.

After development and wash, I went straight to the bleach step. In this case, I’m using Dektol as my bleach. This photo is after a few minutes in the bleach.

Further along in the bleaching step. I didn’t time it but just went by eye. She says to “bleach it fully”.
I stopped the bleaching at this point where all the blue was gone from the sand.

After washing and drying the bleached image, I applied another coat of cyanotype solution, and allowed that to dry for 30 minutes or so.

The next time I do this, I’d come up with a way to make sure I get the second negative aligned with the first print. I was able to do it by eye, but it took a while. I think I’ll probably trim both negatives together to the print size, in this case 8x10. Then I could just align the paper edges with the negative edges and everything would register properly.

After the second exposure, the prints always look SO COOL at this point!!!!

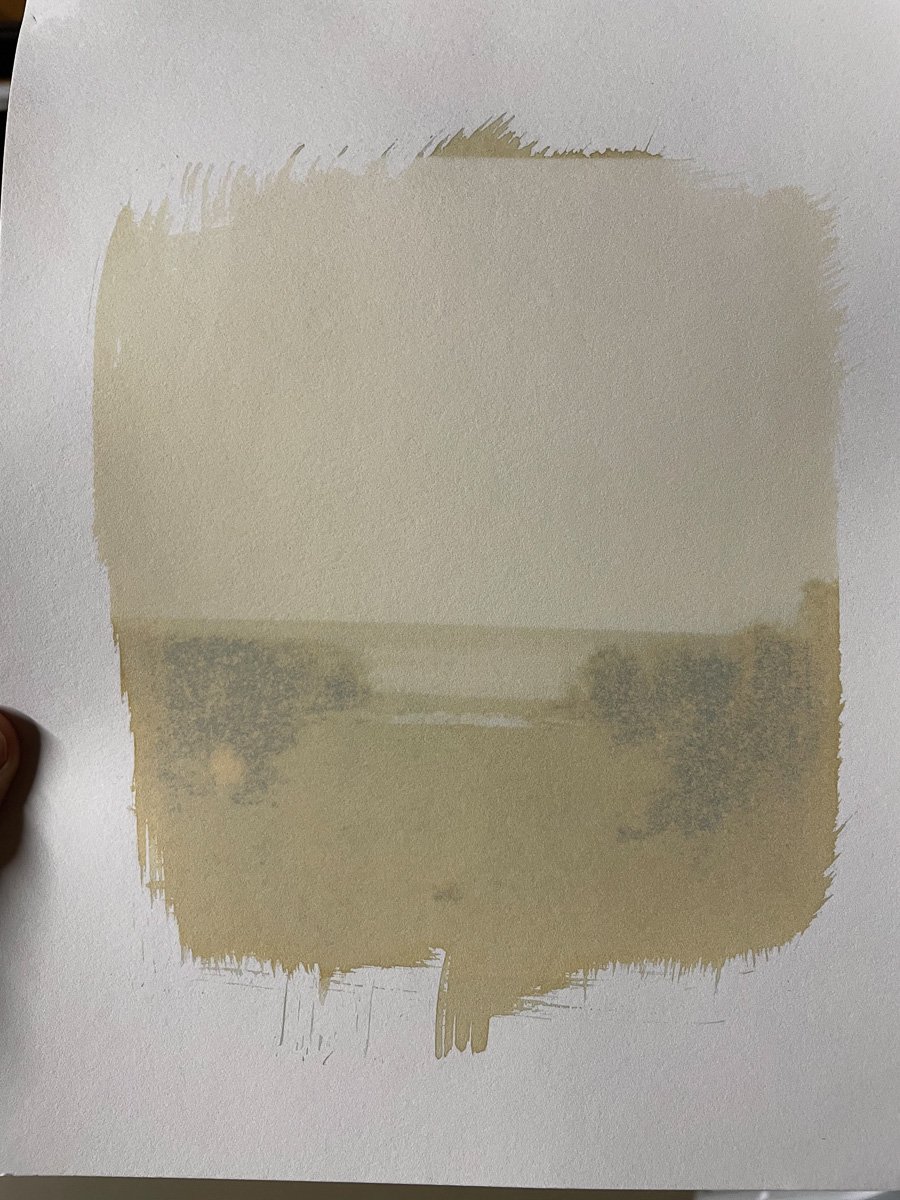
And the final duotone cyanotype print. Even though the yellow of the sand is very subtle, I’m actually quite happy with this! I feel the exposure using the cyan negative (the second exposure) was too long, leaving too much blue over the sand. For the next iteration, I’ll reduce that exposure by a stop.
If you read this far, thank you! I’m always open to questions about anything I do. Feel free to use the Contact Form if you’d like to reach out with a question.